
Baking has always been a passion of mine, but when I switched to a gluten-free diet, I struggled to get the same delicious textures and flavors I loved. Learning how to bake gluten free was a journey filled with trial and error, but now it’s one of my favorite ways to create delicious, healthy treats. Whether you’re gluten-intolerant, have celiac disease, or simply want to experiment with alternative flours, this guide will help you master gluten-free baking with ease.

Why I Love These Gluten-Free Baking Tips
- Perfect Texture – Achieve soft, fluffy, and moist baked goods without gluten.
- Healthier Alternatives – Many gluten-free flours are rich in nutrients and fiber.
- Inclusive Baking – You can make desserts and bread that everyone can enjoy.
- Endless Creativity – Experiment with different flour blends and ingredients.
Why These Gluten-Free Baking Tips Are Special
- Beginner-Friendly – You don’t need prior gluten-free baking experience.
- Cost-Effective – Learn to use affordable, accessible ingredients.
- Versatile – Works for sweet and savory recipes alike.
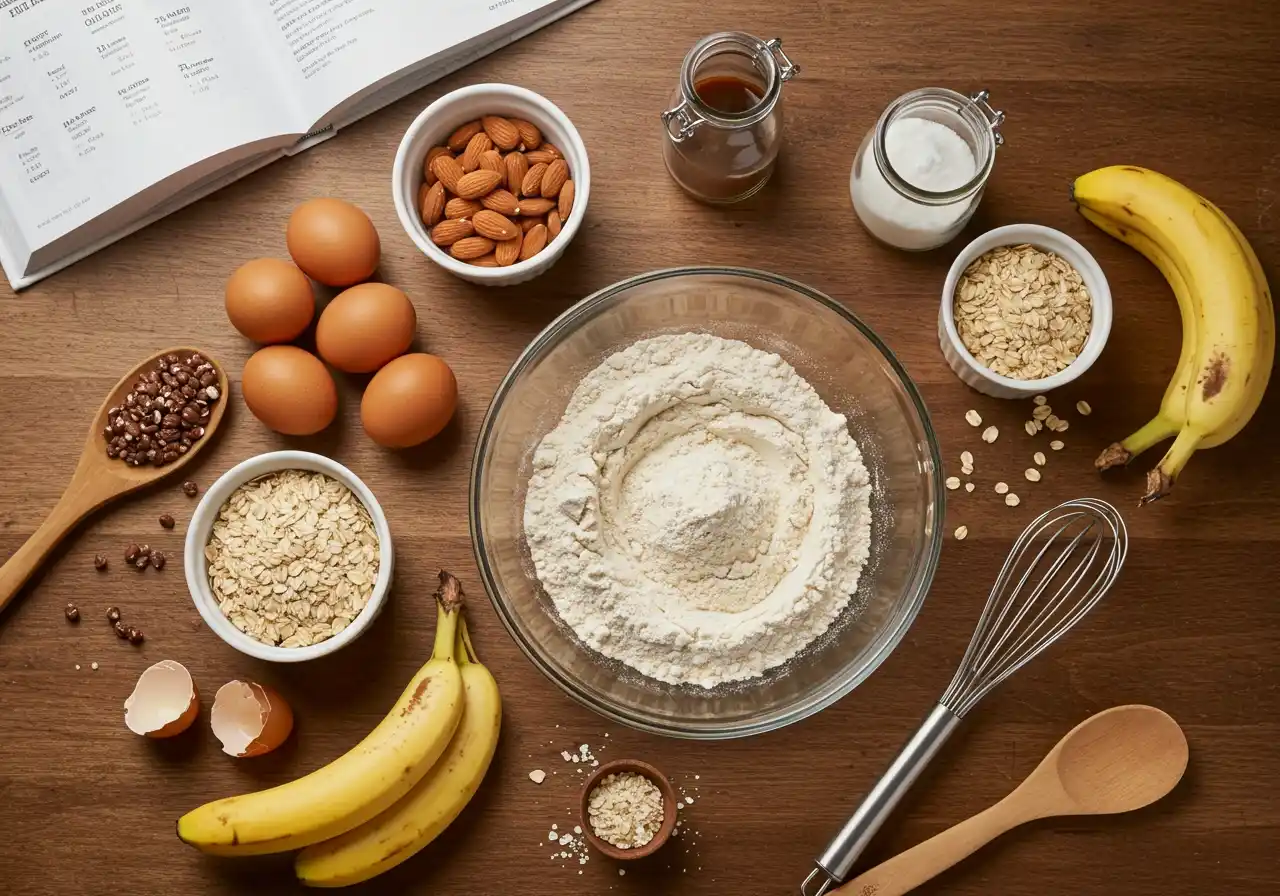
Ingredients & Substitutions
Here are some essential gluten-free baking ingredients and possible substitutions:
Essential Gluten-Free Flours:
- Almond Flour – Adds moisture and a slightly nutty taste.
- Coconut Flour – Absorbs liquid quickly, great for dense textures.
- Rice Flour – A neutral-tasting base for most recipes.
- Oat Flour – Adds fiber and mild sweetness (use certified gluten-free oats).
Binders (Replace Gluten’s Elasticity):
- Xanthan Gum – Helps with elasticity and structure.
- Psyllium Husk – Great for bread, mimics gluten’s chewiness.
- Chia or Flax Seeds – When mixed with water, create a gel-like binder.
Substitutes for Traditional Ingredients:
- Dairy-Free Butter – Use coconut oil or vegan butter.
- Egg Substitutes – Try applesauce, mashed bananas, or flax eggs.
- Sugar Alternatives – Honey, maple syrup, or coconut sugar work well.
How to Make These Gluten-Free Treats: Step-by-Step Instructions
1. Choose the Right Flour
Gluten-free baking often requires a blend of different flours to mimic traditional wheat flour.
2. Measure Accurately
Use a kitchen scale for precise flour measurements, as gluten-free flours tend to be more absorbent.
3. Add a Binding Agent
Since gluten provides structure, always add a binder like xanthan gum or psyllium husk.
4. Mix Thoroughly
Gluten-free batters often need extra mixing to distribute ingredients evenly.
5. Let the Batter Rest
Allowing your batter or dough to sit for 15–30 minutes before baking helps hydrate the flour and improve texture.
6. Bake at the Right Temperature
Gluten-free baked goods often need a slightly lower temperature and longer baking time.
7. Cool Completely Before Slicing
Gluten-free breads and cakes firm up as they cool, so avoid cutting them too soon.

Possible Pitfalls & Tips
Common Mistakes to Avoid:
- Skipping the Binder – Results in crumbly, dry textures.
- Not Using a Blend – Single gluten-free flours don’t mimic wheat well on their own.
- Over-Baking – Gluten-free baked goods can dry out quickly.
Helpful Tips:
- Use a Moisture Booster – Add yogurt, mashed banana, or applesauce for a softer crumb.
- Invest in Quality Baking Tools – A stand mixer and silicone baking mats improve consistency.
- Try Pre-Made Flour Blends – Brands like Bob’s Red Mill offer reliable gluten-free flour mixes.
Additional Tips & Variations
Sweet or Savory Adaptations:
- Add cinnamon and vanilla for a warm, dessert-like flavor.
- Mix in herbs and cheese for savory biscuits or breads.
- Top with chocolate chips, nuts, or dried fruit for extra texture.
Storage & Reheating:
- Store at room temperature in an airtight container for up to 3 days.
- Freeze in slices and reheat in a toaster or oven for a fresh-baked taste.
Expert Tips & Nutrition Highlights
Gluten-free baking often includes nutrient-dense ingredients like almond flour, oat flour, and flaxseeds, which add fiber, protein, and healthy fats. While delicious, some gluten-free baked goods can be calorie-dense, so enjoy in moderation.
I’m not a nutritionist—always consult a professional for dietary concerns.
How To Bake Gluten Free’s FAQ
1. What are the best gluten-free flours for baking?
The best flours are almond, oat, rice, and coconut flour. For best results, use a blend.
2. How do I make gluten-free baked goods less crumbly?
Use a binding agent like xanthan gum or psyllium husk, and add extra moisture with ingredients like yogurt or applesauce.
3. Can I substitute gluten-free flour 1:1 for regular flour?
Not always—many gluten-free flours absorb more liquid, so adjustments to liquids and binders are needed.
4. Why does my gluten-free bread turn out dense?
This can happen if you don’t aerate the flour or if you over-mix the batter. Letting the dough rest also helps.
5. How can I make my gluten-free cakes rise better?
Use extra baking powder and ensure ingredients are at room temperature before mixing.
6. Is gluten-free baking healthier?
It depends—while gluten-free flours can be more nutrient-dense, some recipes may have more sugar and fat to compensate for texture.
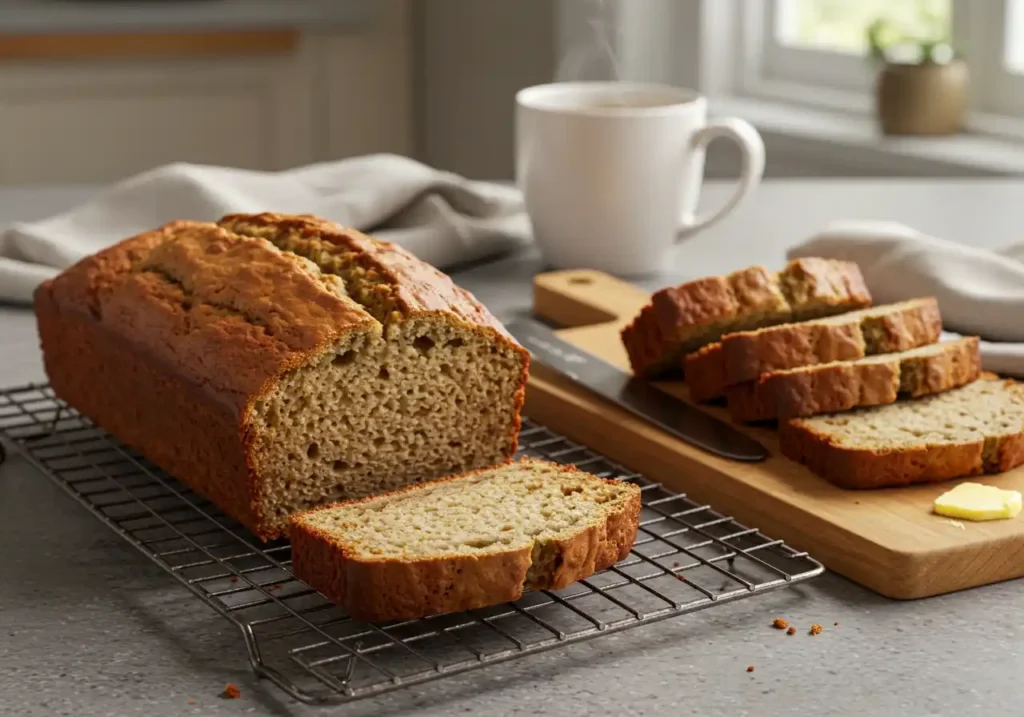
How T Bake Gluten Free: Easy Gluten Free Banana Bread Recipe
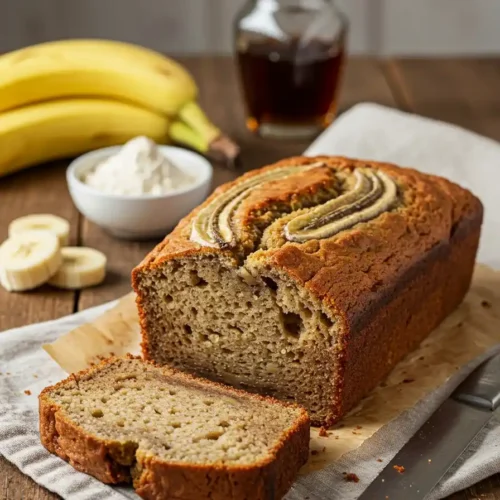
Easy Gluten-Free Banana Bread
Equipment
- Mixing bowl
- Loaf pan
- Whisk
Ingredients
Dry Ingredients
- 2 cups gluten-free flour blend
- 1 teaspoon baking soda
- 1/2 teaspoon salt
- 1/2 teaspoon xanthan gum
Wet Ingredients
- 1/2 cup coconut oil melted
- 3 ripe bananas mashed
- 2 eggs or flax eggs for vegan option
- 1/2 cup maple syrup
- 1 teaspoon vanilla extract
Instructions
- Preheat oven to 350°F (175°C) and grease a loaf pan.
- In a bowl, mix the gluten-free flour, baking soda, salt, and xanthan gum.
- In another bowl, whisk together the melted coconut oil, mashed bananas, eggs, maple syrup, and vanilla extract.
- Gradually combine the wet and dry ingredients, mixing until well incorporated.
- Pour the batter into the greased loaf pan and smooth the top.
- Bake for 50 minutes or until a toothpick inserted in the center comes out clean.
- Remove from the oven and let cool in the pan for 10 minutes before transferring to a wire rack.
- Slice and serve once completely cooled.
Notes
- Use certified gluten-free flour.
- Substitute coconut oil with butter if desired.
- Store leftovers in an airtight container for up to 3 days.
Now that you know how to bake gluten free, it’s time to try it for yourself! With the right ingredients and techniques, you can create delicious gluten-free baked goods that everyone will love. Let me know in the comments if you try this guide, and don’t forget to share it with friends!