Living with gluten intolerance has been tough for me. Finding a good gluten free bread is hard. Most are dense, crumbly, or just not as good as regular bread. But today, I’m excited to share a recipe that will change your mind about gluten free baking.
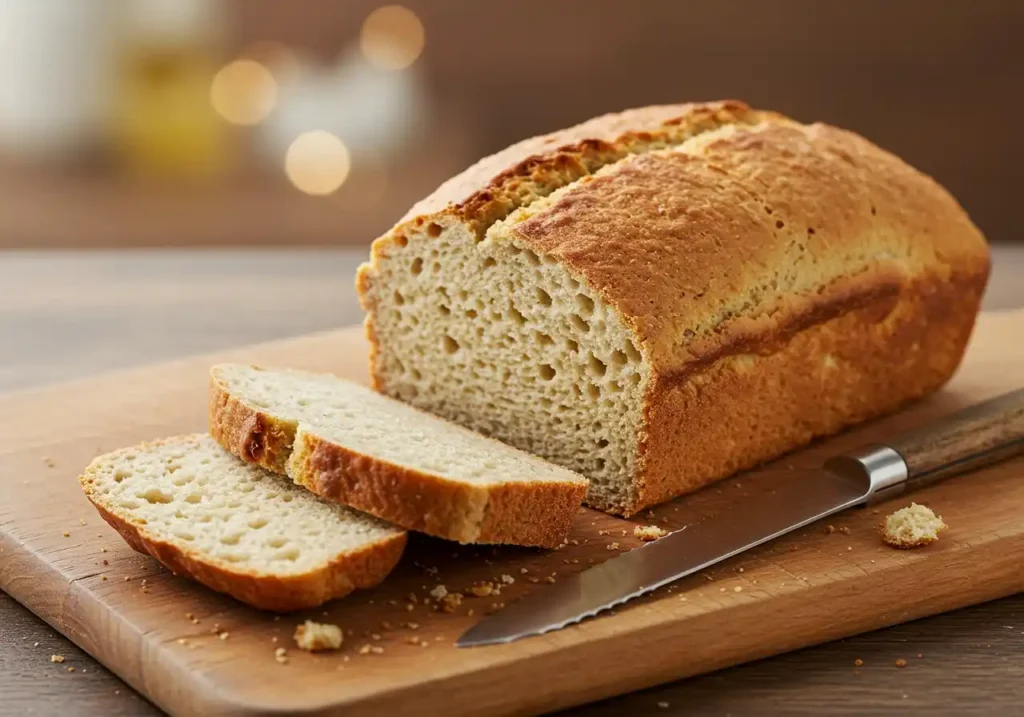
This recipe makes a soft, chewy white sandwich bread. It has a golden-brown crust and bends like regular bread. People will think you used wheat flour. Plus, it’s made with ingredients that are safe for many diets.
Table of Contents
Key Takeaways
- Produces a soft, tender gluten free sandwich bread with a chewy crumb and crisp crust
- Made with simple, allergen free ingredients that are easy to find
- Requires a stand mixer with paddle attachment for best results
- Bakes in about 50 minutes at 375°F, with an internal temperature of 195°F indicating doneness
- Cooling completely before slicing is crucial for clean cuts
Understanding Gluten Free Bread Basics
Baking gluten free bread is very different from making regular wheat bread. The dough for gluten free loaves is more like a thick batter. It needs special techniques and tools to get the right rise and texture.
Why Traditional Bread Recipes Don’t Work
Gluten, found in wheat, rye, and barley, makes bread chewy and stretchy. Without it, the dough can’t hold air bubbles well. Gluten free baking uses other ingredients and methods to get similar results.
The Science Behind Gluten Free Baking
In gluten free baking, xanthan gum, starches, and special flours help replace gluten. Xanthan gum is especially important. It helps keep air in and the bread fresh.
Essential Equipment Needed
- A stand mixer with a paddle attachment for proper mixing
- A digital kitchen scale for accurate ingredient measurements
- An oven thermometer to ensure precise baking temperatures
- A 9×5 inch loaf pan for the perfect bread shape
With the right tools and knowledge of gluten free baking science, you can make tasty, wheat free loaves. They can be just as good as traditional bread.
Key Ingredients for Perfect Gluten Free Bread Recipe
Making delicious gluten free bread needs a mix of special flours and ingredients. The base is a top-notch gluten free flour blend. This blend gives the bread its structure and rise. Use Better Batter or make your own blend for the best results.
The recipe also includes various alternative flours. These are white rice flour, tapioca starch, potato or arrowroot starch, and millet or almond flour. They help achieve the right crumb and texture. Ground flaxseed adds nutrition and helps the dough stick together.
Xanthan gum is key because it acts like gluten, which is vital for alternative flour baking. Baking powder, salt, oil, egg whites, and apple cider vinegar are also important. Active dry yeast and a bit of sugar or honey are used to make the bread light and airy.
Ingredient | Quantity |
---|---|
Gluten-free flour blend | 2 1/2 cups |
Xanthan gum | 1 1/2 teaspoons |
Baking powder | 2 teaspoons |
Salt | 1 teaspoon |
Oil (vegetable, canola or olive oil) | 1/4 cup |
Egg whites | 3 large |
Apple cider vinegar | 2 tablespoons |
Active dry yeast | 2 1/4 teaspoons |
Sugar or honey | 2 tablespoons |
Choosing and mixing these key ingredients carefully will help you make a gluten free bread that’s as good as wheat bread in taste and texture.
The Role of Different Flours in Gluten Free Baking
Gluten free baking can seem hard, but knowing about flours is key. You can make tasty grain free bread and healthy bread alternatives by mixing flours. There’s no one flour that can replace wheat flour perfectly. But, the right mix can make amazing results.
Best Flour Combinations
Trying out different flour mixes is the trick to great gluten free baking. Here are some top blends:
- Use 2 1/2 cups of gluten-free flour mix, 1/2 cup almond or millet flour, and 1/4 cup flaxseed meal.
- For a light crumb, mix rice flour, tapioca flour, and potato starch.
- Try chickpea flour with oat flour and xanthan gum for a nutty taste.
Understanding Xanthan Gum
Xanthan gum is key when you don’t have gluten. It adds structure and elasticity to gluten-free foods. This ingredient helps gluten-free bread rise well and stay tender.
Alternative Flour Options
There’s more than just gluten-free flour blends. You can try almond and coconut flour for extra nutrients. Or, use buckwheat and teff for unique flavors. Mixing these flours can create healthy bread alternatives that taste great and meet dietary needs.
“Not every brand of all-purpose gluten-free flour blend may be suitable for all types of baking. Being mindful of the total flour weight and type of flour required in a recipe is essential for successful gluten-free baking.”
Step-by-Step Mixing Process
Making tasty gluten free bread at home needs careful mixing. Begin by activating your yeast in warm water with a bit of sugar. This step is key for a good rise in your dough. While the yeast proofs, mix the dry ingredients – gluten free flour, psyllium husk powder, baking soda, and salt – in another bowl.
Once the yeast is active, add it to a stand mixer bowl. Then, add the wet ingredients like oil and any flavorings. Slowly mix in the dry ingredients. Mix on medium speed for about 2 minutes, until the dough is thick and sticky. This step is crucial for the bread’s structure and texture.
- Proof yeast in warm water with sugar
- Combine dry ingredients in a separate bowl
- Add proofed yeast and wet ingredients to stand mixer
- Mix on medium speed for 2 minutes until dough is thick and sticky
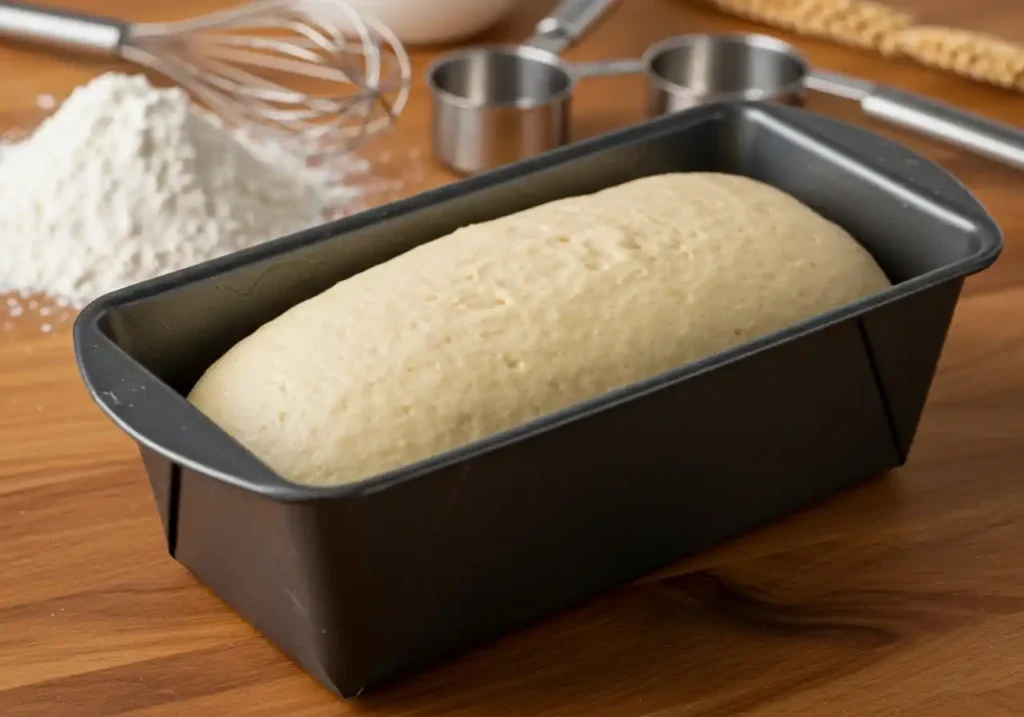
After mixing, put the dough in a loaf pan and smooth the top. Cover it and let it rise for 45-60 minutes. It should be slightly above the pan’s rim. This step is vital for the perfect gluten free bread rise and texture.
Learning to mix well is the first step to baking great gluten free bread at home. With the right techniques and care, you can make a loaf that’s as good as any store-bought one.
Mastering the Yeast Proofing Method
Getting your gluten-free bread to rise perfectly starts with yeast proofing. Yeast is the key to making bread light and airy. It needs the right temperature and conditions to work its magic.
Temperature Considerations
The best water temperature for yeast is between 95°F and 110°F. This warm, moist mix is perfect for yeast to grow and start the rising process. Too hot, too cold, or too much salt can slow yeast down.
Signs of Proper Activation
When yeast meets warm water, it shows it’s alive by creating a frothy layer in 5 to 10 minutes. This means the yeast is ready to make the dough rise. A slow rise at moderate temperatures helps gluten-free bread develop well.
Mastering yeast proofing is key to a light, airy gluten-free loaf. Focus on the water temperature and watch for yeast activation signs. This will help you achieve perfect yeast bread texture every time.
Essential Tips for Perfect Rise and Texture
Getting the gluten free bread texture and rise right is crucial for tasty homemade gluten-free bread. Follow these tips for a bread that rises well and has a soft, airy crumb:
- Keep the dough moist during rising by lightly covering it. This stops the top from drying out and cracking.
- Don’t let the dough overproof. This can make the dough unstable. Watch the rising time and stop when it doubles in size.
- Select a consistently warm spot, sheltered from drafts and air conditioning, to allow your dough to proof properly. Ovens, even at low temperatures, can be too warm and dry out the dough.
- Be gentle with the risen dough to keep the air pockets. Too much kneading or punching down can flatten it.
For extra flavor and texture, brush the dough’s top with melted butter and sprinkle with seeds like sesame or poppy before baking. These steps will give you a golden crust and a delicious gluten-free bread.
“The key to gluten-free bread success is striking the right balance between moisture, structure, and rise. With a little practice, you’ll be baking bakery-quality loaves at home.”
Baking Temperature and Timing Guide
To get the perfect gluten-free bread, you need the right baking temperature and timing. Bake your bread at 350°F (177°C) for 60-65 minutes. Cover the loaf with foil halfway to stop it from getting too brown.
Crust Development Techniques
Here are some tips to help your crust develop well:
- Brush the dough’s top with a beaten egg or milk for a golden look.
- Water the oven walls in the first 10 minutes to create steam. This helps the crust rise and set.
- Try baking on a preheated baking stone or steel for a crispy crust.
Testing for Doneness
Here’s how to check if your bread is done:
- Use a digital thermometer to check the internal temperature. It should be around 195°F (91°C).
- Tap the bottom of the loaf. It should sound hollow, meaning it’s fully baked.
- Stick a skewer or toothpick into the center. It should come out clean, without dough.
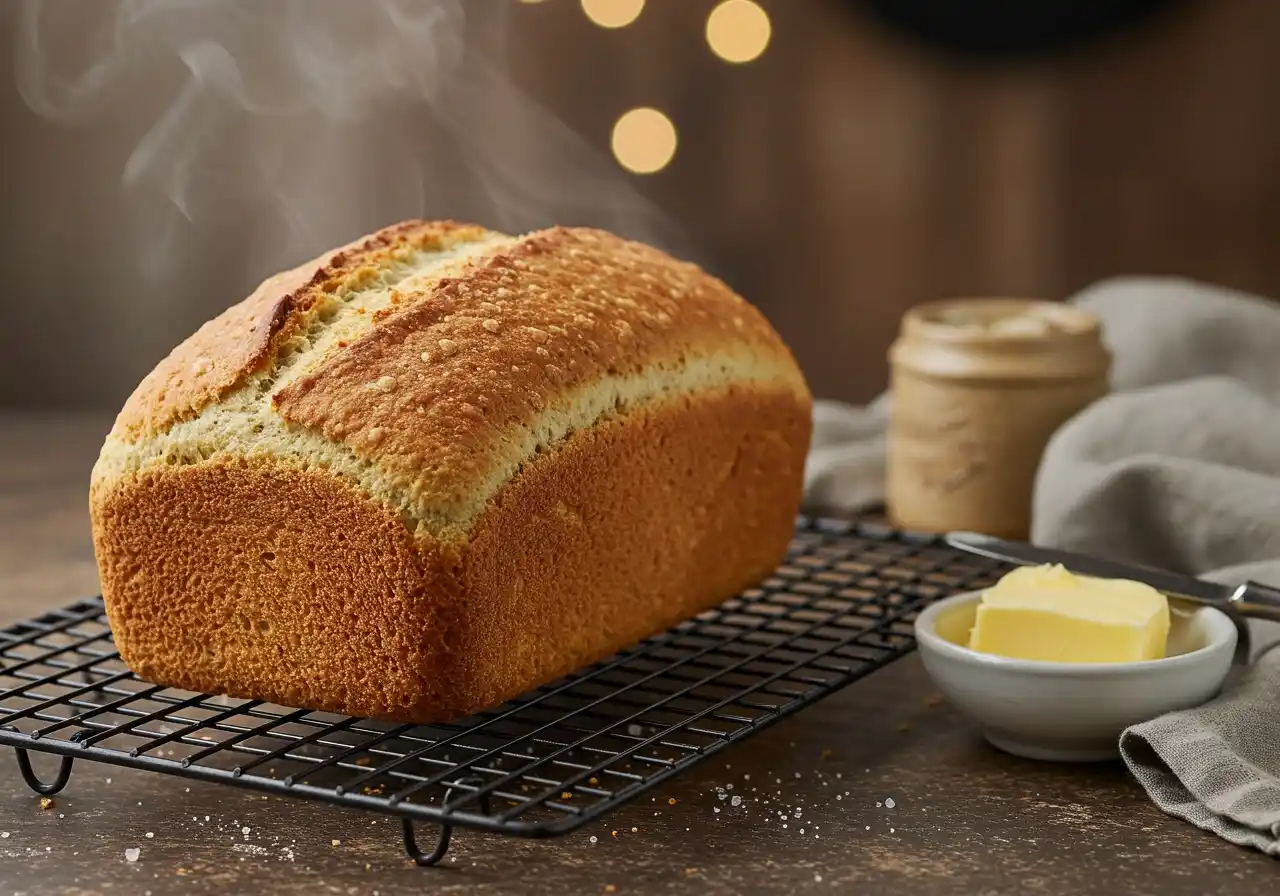
Remember, the right oven temperature is key for a great gluten-free bread. Use an oven thermometer to check your oven’s accuracy. Let the bread cool in the pan for a bit before cooling it completely on a wire rack.
Storage and Freezing Methods
Keeping your homemade gluten-free bread fresh is key. Gluten-free bread doesn’t last as long as regular bread. But, there are ways to keep it fresh and tasty.
For a few days, you can store the bread at room temperature. But, freezing is the best way to keep it fresh longer. Slice the whole loaf before freezing. This makes it easier to thaw and use.
- Wrap the sliced bread tightly in plastic wrap or store it in an airtight freezer bag. This prevents freezer burn and moisture loss.
- Frozen gluten-free bread stays good for up to 1 month. This way, you can enjoy fresh bread whenever you want.
- To use, thaw the bread at room temperature or in the microwave. Then, toast it for the best taste and texture.
Gluten-free bread can get stale or gummy if not stored right. Don’t store it in the fridge. The moisture can cause mold. Keep it at room temperature or in the freezer for the best results.
By using these gluten-free bread storage tips, you can enjoy your homemade bread longer. You won’t have to worry about it losing its texture or taste.
Troubleshooting Common Issues
Starting with gluten-free baking can bring some challenges. You might face dense or gummy textures and rising problems. But, with the right knowledge and a few tips, you can solve these issues and succeed in baking.
Fixing Dense or Gummy Texture
A dense or gummy texture in gluten-free bread can happen for several reasons. It might be due to not mixing well, using the wrong flour mix, or baking it too short. Make sure to mix everything well, use the right flour mix, and bake it until it’s fully cooked. If it’s still not right, try adding more liquid or baking it longer.
Addressing Rising Problems
Rising issues in gluten-free baking are common. They can be caused by old yeast, wrong water temperature, or mixing too much. Check that your yeast is fresh and the water is at the right temperature for proofing. Also, avoid over-kneading the dough. If problems persist, add more leavening agent or let the dough proof longer.
Frequently Asked Questions (FAQ)
What are the key features of this gluten free bread recipe?
This recipe makes a soft, tender white sandwich bread. It has a chewy crumb and a crisp, brown crust. It bends and squishes like regular bread, with a bakery-style texture.
What equipment is needed for this gluten free bread recipe?
You’ll need a stand mixer with paddle attachment for the best results. Also, a digital kitchen scale, oven thermometer, and a 9×5 inch loaf pan are essential.
Why is xanthan gum crucial for gluten free bread baking?
Xanthan gum is key as a gluten substitute. It traps air and keeps the bread fresh without gluten.
What are the essential ingredients for this gluten free bread recipe?
You’ll need white rice flour, tapioca starch, and potato or arrowroot starch. Also, millet or almond flour, ground flaxseed, and xanthan gum are important. Baking powder, salt, oil, egg whites, and apple cider vinegar are also needed. Active dry yeast and sugar or honey are used for yeast activation.
How does the mixing process differ for gluten free bread dough?
Gluten free bread dough is like a thick batter, not stretchy dough. Mix it in a stand mixer with paddle attachment for 2 minutes to get the right texture.
What are the key considerations for yeast proofing in gluten free bread baking?
For yeast proofing, use water at 95°F-110°F. A frothy top after 5-10 minutes means yeast is active. Too much salt, sugar, or heat can slow yeast growth.
How do you ensure proper rise and texture for gluten free bread?
Keep the dough moist during rising. Avoid overproofing and handle the dough gently. This helps keep air pockets and gets the right texture.
What are the key steps for baking the gluten free bread?
Bake at 350°F for 60-65 minutes. Cover with foil halfway to prevent over-browning. Check for doneness by internal temperature or tapping the bottom.
How should the gluten free bread be stored and frozen?
Store at room temperature for up to 4 days or freeze for a month. Freeze the whole loaf first. It’s best eaten fresh or toasted after the first day.
What are some common issues with gluten free bread baking and how can they be addressed?
Issues like dense or gummy texture can come from wrong mixing, flour blend, or underbaking. Rising problems might be from inactive yeast, wrong water temperature, or overmixing. Make sure all ingredients are at room temperature before mixing. Adjust oven temperature if the bread caves in after baking.