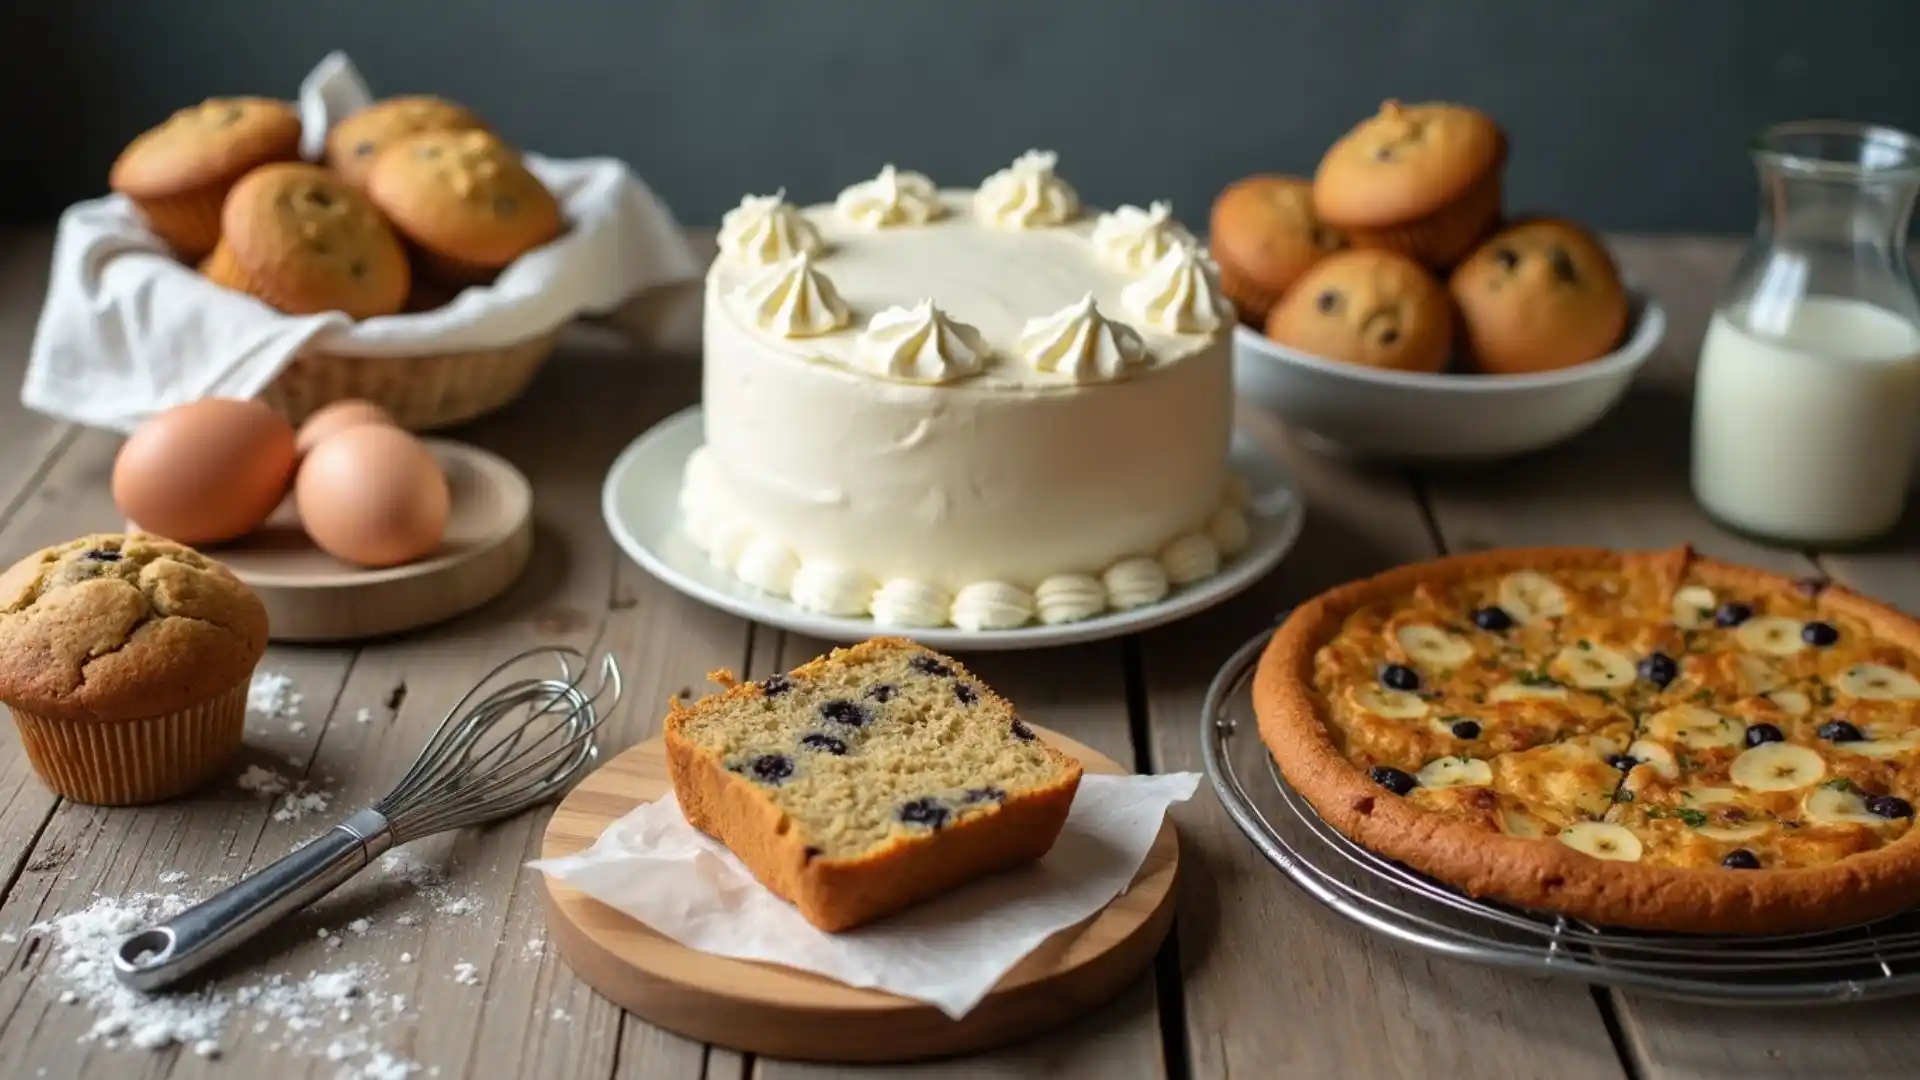
Living with celiac disease or gluten sensitivity doesn’t mean sacrificing the joy of homemade baked goods. As a professional baker who discovered their gluten intolerance five years ago, I’ve spent countless hours perfecting these gluten free baking recipes. This comprehensive guide features five foolproof recipes that deliver exceptional results every time.
Introduction to Gluten Free Baking
The journey to gluten free baking mastery begins with understanding why traditional flour alternatives matter. Whether you’re dealing with celiac disease, gluten sensitivity, or choosing a gluten-free lifestyle, these recipes and techniques will help you create delicious baked goods that everyone will enjoy.
Health Benefits of Going Gluten Free
- Improved digestive health
- Reduced inflammation
- Better energy levels
- Enhanced nutrient absorption
- Clearer thinking
Who This Guide Is For
This comprehensive guide is specially crafted for American home bakers who:
- Are new to gluten free baking
- Have celiac disease or gluten sensitivity
- Want to bake for gluten-free family members
- Are interested in gluten-free alternatives
- Want to expand their baking skills
The Evolution of Gluten Free Baking in America: A Historical Perspective
The landscape of gluten free baking has transformed dramatically over the past century. What began as a medical necessity for celiac patients in the 1950s has evolved into a $5.6 billion industry in 2024. Let’s explore this fascinating journey:
1950s-1970s: The Early Days
- Limited commercial options available
- Basic rice flour substitutions
- Focus primarily on medical needs
- Restricted availability of ingredients
- Limited understanding of celiac disease
1980s-1990s: Growing Awareness
- Increased celiac disease diagnosis
- Emergence of specialty health food stores
- Introduction of basic gluten-free flour blends
- Development of xanthan gum applications
- Early gluten-free cookbooks published
2000s-Present: The Revolution
- Explosion of gluten-free products
- Advanced flour blend development
- Improved texture and taste
- Mainstream availability
- Innovation in baking techniques
The Science Behind Gluten Free Baking
Understanding the chemistry of gluten free baking helps achieve better results. Here’s what happens when we remove gluten from our recipes:
Role of Traditional Gluten
- Provides structure and elasticity
- Traps air bubbles for proper rise
- Creates chewy texture
- Binds ingredients together
- Develops during kneading
Gluten-Free Alternatives Function
- Xanthan gum provides structure (use 1/4 teaspoon per cup of flour)
- Psyllium husk creates elasticity (use 2 teaspoons per cup of flour)
- Protein-rich flours improve texture
- Multiple starches enhance binding
- Chemical leaveners ensure proper rise
Essential Gluten-Free Flour Guide
Success in gluten free baking starts with understanding your ingredients. Here’s a comprehensive look at essential flour alternatives:
Almond Flour
- Cost: $8-12 per pound
- Protein Content: 6g per 1/4 cup
- Best Uses: Cakes, cookies, muffins
- Storage: 6 months refrigerated
- Benefits: Adds moisture and nutrition
- Substitution: 1:1 for wheat flour in most recipes
- Texture Contribution: Tender, moist crumb
Coconut Flour
- Cost: $5-8 per pound
- Fiber Content: 5g per 2 tablespoons
- Best Uses: Dense cakes, quick breads
- Storage: 12 months in airtight container
- Benefits: Low-carb, high fiber
- Special Notes: Highly absorbent (use 1/4 amount of regular flour)
- Liquid Adjustment: Add 1 egg per 1/4 cup coconut flour
Premium Blend Considerations
- Cost Range: $6-15 per pound
- Shelf Life: 6-12 months
- Common Components: Rice, potato, tapioca
- Important Additions: Xanthan gum, protein
- Storage Requirements: Cool, dry place
- Measuring Method: Weight vs. volume
- Brand Variations: Significant differences
Professional Equipment Recommendations
Investing in the right tools significantly improves gluten free baking recipes success:
Essential Tools
Digital Scale ($15-30)
- Accuracy within 1g
- Multiple measurement units
- Tare function
- Battery indicator
- Easy cleaning
Stand Mixer ($200-500)
- Multiple speed settings
- Bowl capacity 5-6 quarts
- Paddle attachment
- Dough hook
- Whisk attachment
Quality Baking Pans
- Heavy gauge aluminum
- Non-stick coating
- Even heat distribution
- Various sizes
- Easy release design
5 Essential Gluten Free baking Recipes
1. Basic Vanilla Birthday Cake Recipe
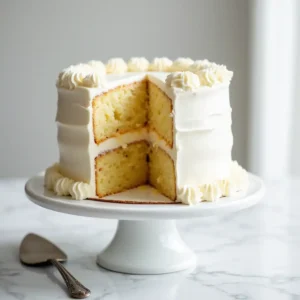
Basic Vanilla Birthday Cake Recipe
Equipment
- 2 8-inch round cake pans
- Stand mixer or hand mixer
- Digital kitchen scale
- Parchment paper
- Cooling rack
- Offset spatula
Ingredients
- 2½ cups 350g gluten-free all-purpose flour blend
- 1 cup 240ml whole milk or dairy-free alternative
- 1 cup 200g granulated sugar
- ⅓ cup 75g unsalted butter, softened
- 2 large eggs room temperature
- 2 tablespoons melted coconut oil
- 1 tablespoon pure vanilla extract
- 1 teaspoon xanthan gum if not included in flour blend
- 2 teaspoons baking powder
- 2 teaspoons baking soda
- ½ teaspoon salt
Instructions
- Preheat oven to 350°F (175°C). Position rack in center.
- Grease two 8-inch round cake pans and line bottoms with parchment paper.
- In a medium bowl, whisk together flour, xanthan gum (if using), baking powder, baking soda, and salt.
- In a large mixing bowl, cream softened butter until smooth (about 1 minute).
- Gradually add sugar and beat until light and fluffy (3-4 minutes).
- Add eggs one at a time, beating well after each addition.
- Mix in vanilla extract.
- Gradually add dry ingredients alternating with milk, beginning and ending with flour mixture (3 flour additions, 2 milk additions).
- Fold in melted coconut oil until just combined.
- Divide batter evenly between prepared pans.
- Bake for 30-35 minutes or until a toothpick inserted comes out clean.
- Cool in pans for 10 minutes, then remove to wire racks to cool completely.
Notes
- Ensure all ingredients are at room temperature before starting
- Don’t overmix after adding flour to avoid tough cake
- Test doneness with toothpick or cake tester
- Cool completely before frosting
2. Perfect Chocolate Chip Cookies
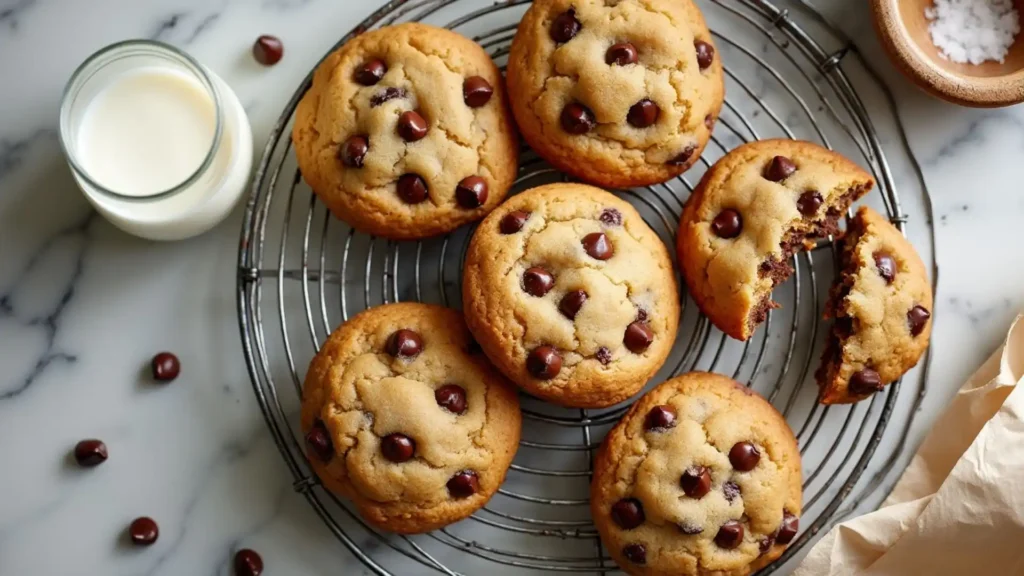
Preparation Time: 15 minutes + 30 minutes chilling Baking Time: 12-14 minutes Cost per Serving: $0.50 (makes 24 cookies)
Master Recipe:
Ingredients:
- 2¼ cups gluten-free all-purpose flour ($4.00)
- 1 cup butter, softened ($3.00)
- ¾ cup brown sugar ($0.50)
- ¾ cup granulated sugar ($0.50)
- 2 large eggs ($0.50)
- 1 teaspoon vanilla extract ($0.25)
- 1 teaspoon baking soda ($0.05)
- ½ teaspoon salt ($0.05)
- 2 cups gluten-free chocolate chips ($4.00)
Scientific Tips for Perfect Texture:
- Room temperature ingredients ensure proper emulsion
- Creaming butter and sugar creates air pockets
- Chilling dough prevents spreading
- Proper measuring prevents grittiness
- Rest time allows flour hydration
Step-by-Step Instructions:
- In medium bowl, whisk flour, baking soda, and salt.
- Cream butter and sugars until light (3-4 minutes).
- Beat in eggs one at a time.
- Add vanilla extract.
- Gradually mix in dry ingredients.
- Fold in chocolate chips.
- Chill dough 30 minutes.
- Preheat oven to 375°F (190°C).
- Drop rounded tablespoons onto lined sheets.
- Bake 12-14 minutes until golden.
Nutritional Information (per cookie):
- Calories: 150
- Total Fat: 8g
- Carbohydrates: 19g
- Protein: 2g
- Fiber: 1g
3. Classic Banana Bread
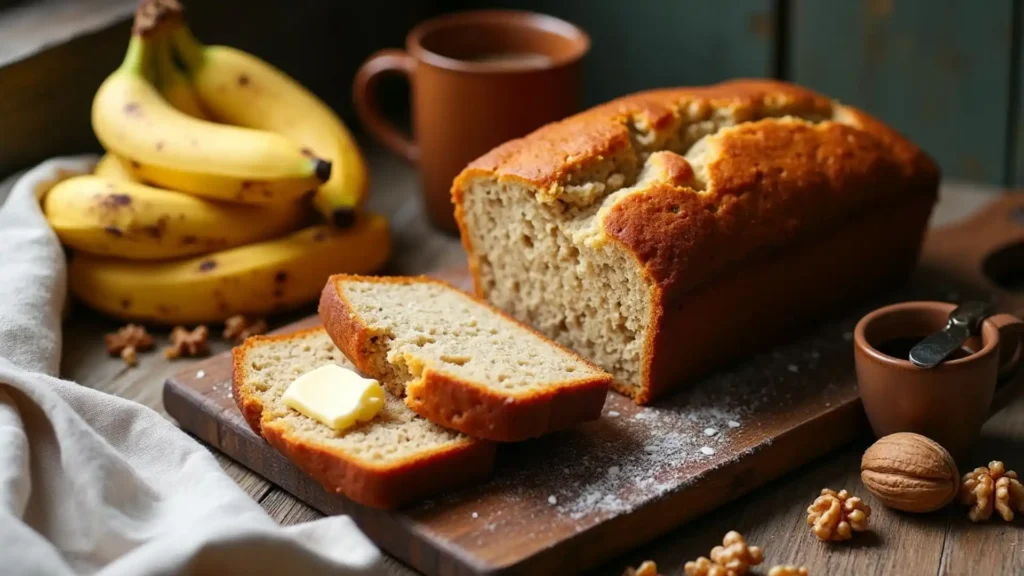
Preparation Time: 15 minutes Baking Time: 55-60 minutes Cost per Serving: $0.85 (makes 12 slices)
Master Recipe:
Ingredients:
- 2 cups gluten-free all-purpose flour ($3.50)
- 3 ripe bananas, mashed (about 1½ cups) ($1.50)
- ½ cup melted butter ($1.50)
- 2 large eggs ($0.50)
- ¾ cup brown sugar ($0.50)
- 1 teaspoon baking soda ($0.05)
- ¼ teaspoon salt ($0.05)
- 1 teaspoon vanilla extract ($0.25)
- Optional: ½ cup chopped walnuts ($2.00)
Temperature Guidelines:
- Eggs at room temperature
- Butter melted and cooled
- Bananas fully ripe with black spots
- Oven preheated for 15 minutes minimum
- Pan at room temperature
Step-by-Step Instructions:
- Position rack in center of oven and preheat to 350°F (175°C)
- Grease 9×5 inch loaf pan and line with parchment
- Whisk flour, baking soda, and salt in medium bowl
- In large bowl, mash bananas until smooth
- Mix melted butter into bananas
- Beat in eggs and brown sugar until well combined
- Add vanilla extract
- Gradually fold in dry ingredients until just combined
- Pour into prepared pan
- Bake 55-60 minutes until golden brown
Professional Testing Methods:
- Toothpick test: Should come out clean
- Internal temperature: 200-205°F
- Top crack: Should be golden brown
- Sides: Should pull away from pan
- Pressing test: Should spring back
4. Blueberry Muffins
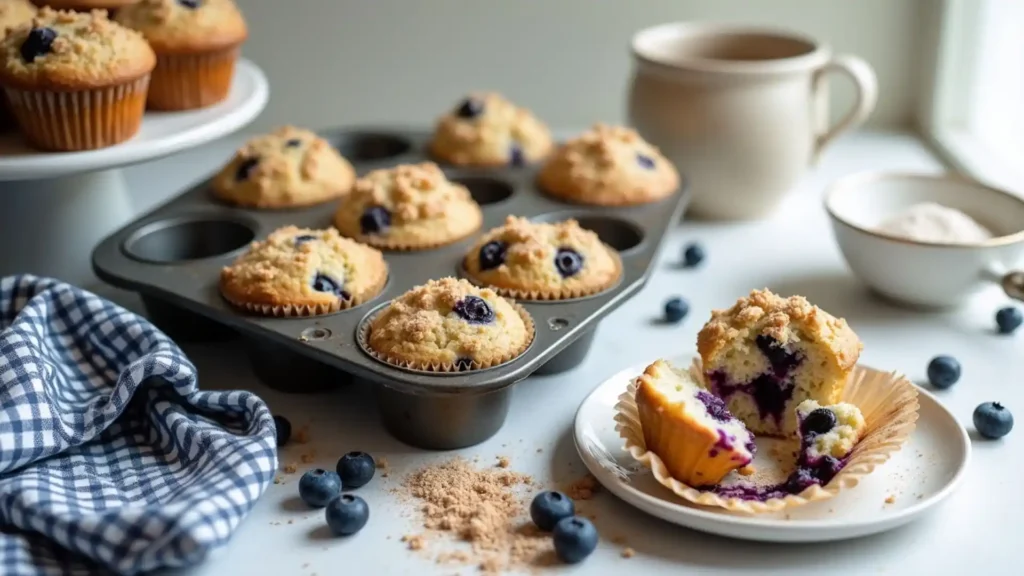
Preparation Time: 20 minutes Baking Time: 22-25 minutes Cost per Serving: $1.00 (makes 12 muffins)
Master Recipe:
Ingredients: For the Muffins:
- 2 cups gluten-free all-purpose flour ($3.50)
- 2 teaspoons baking powder ($0.10)
- ½ teaspoon salt ($0.05)
- ½ cup butter, softened ($1.50)
- 1 cup granulated sugar ($0.75)
- 2 large eggs ($0.50)
- 1 teaspoon vanilla extract ($0.25)
- ½ cup milk ($0.40)
- 2 cups fresh blueberries ($4.00)
For the Streusel Topping:
- ¼ cup gluten-free flour ($0.45)
- ¼ cup brown sugar ($0.20)
- ¼ cup cold butter ($0.75)
- ½ teaspoon cinnamon ($0.05)
Crucial Techniques:
- Coat blueberries in flour to prevent sinking
- Don’t overmix batter
- Fill muffin cups ¾ full
- Rotate pan halfway through baking
- Cool in pan for 5 minutes only
Step-by-Step Instructions:
- Preheat oven to 375°F (190°C)
- Line muffin tin with paper liners
- Make streusel: combine ingredients until crumbly
- Whisk dry ingredients in medium bowl
- Cream butter and sugar until light (3-4 minutes)
- Beat in eggs one at a time
- Add vanilla extract
- Alternate flour mixture and milk
- Gently fold in blueberries
- Top with streusel before baking
5. Pizza Crust
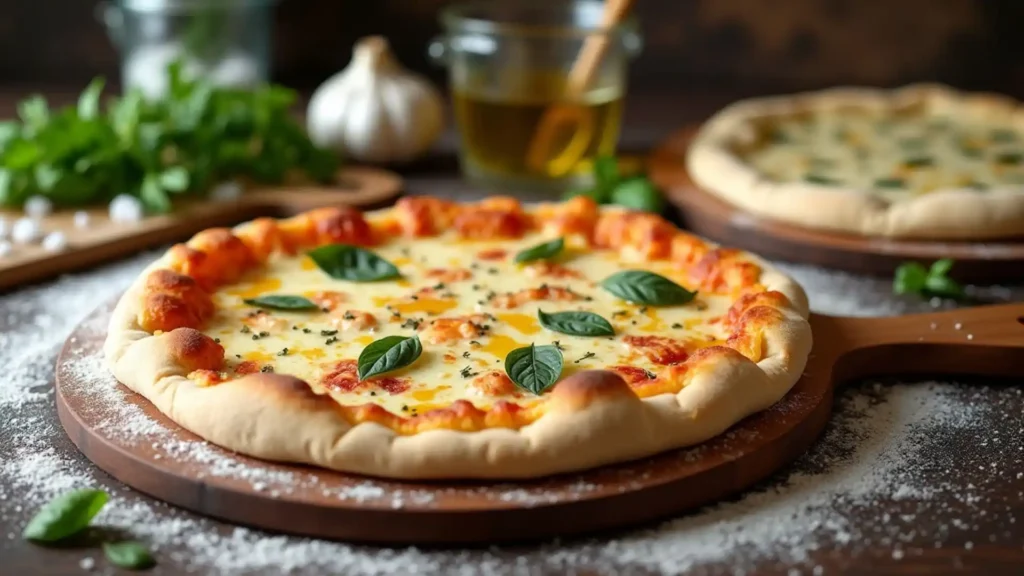
Preparation Time: 20 minutes + 30 minutes rise Baking Time: 15-20 minutes Cost per Serving: $1.25 (makes 8 slices)
Master Recipe:
Ingredients:
- 2½ cups gluten-free all-purpose flour ($4.50)
- 2¼ teaspoons active dry yeast ($0.30)
- 1 tablespoon sugar ($0.10)
- 1 teaspoon salt ($0.05)
- 1 cup warm water (110-115°F) ($0.00)
- 2 tablespoons olive oil ($0.50)
- 2 eggs ($0.50)
- 1 teaspoon apple cider vinegar ($0.10)
Professional Techniques:
- Test yeast activation before mixing
- Use thermometer for water temperature
- Allow dough to rest for proper hydration
- Par-bake crust before adding toppings
- Use pizza stone for crispy bottom
Step-by-Step Instructions:
- Combine warm water, yeast, and sugar in bowl
- Let stand 5 minutes until foamy
- Mix dry ingredients in separate bowl
- Add eggs, oil, and vinegar to yeast mixture
- Combine wet and dry ingredients
- Beat for 3 minutes until smooth
- Spread on greased pizza pan
- Let rise in warm place for 30 minutes
- Pre-bake at 425°F for 10 minutes
- Add toppings and finish baking
Advanced Baking Tips and Techniques
Understanding Temperature Control
Temperature plays a crucial role in gluten free baking success. Consider these professional guidelines:
- Ingredient Temperatures:
- Eggs: Room temperature (65-70°F)
- Butter: Softened (65-67°F)
- Liquids: Warm (110-115°F for yeast)
- Flour: Room temperature
- Oven Management:
- Preheat 15-20 minutes minimum
- Use oven thermometer
- Rotate pans halfway through
- Maintain door seal
- Check actual temperature vs. display
Mixing Methods
Proper mixing techniques ensure optimal texture:
- Basic Method:
- Whisk dry ingredients thoroughly
- Cream fats and sugars properly
- Alternate wet and dry additions
- Fold in delicate ingredients
- Don’t overmix
- Advanced Techniques:
- Reverse creaming for tender cakes
- Double hydration for bread doughs
- Lamination for pastries
- Cold fermentation for depth of flavor
Storage and Preservation
Room Temperature Storage (2-3 days):
- Use airtight containers
- Layer with parchment paper
- Keep away from sunlight
- Add moisture maintenance item
- Monitor ambient temperature
Refrigeration (5-7 days):
- Wrap items individually
- Use sealed containers
- Allow proper air circulation
- Bring to room temperature before serving
- Protect from odors
Freezer Storage (up to 3 months):
- Double-wrap in plastic and foil
- Remove air pockets
- Label with date and contents
- Thaw in refrigerator
- Refresh in oven if needed
Troubleshooting Guide
Common Issues and Solutions:
- Dense Texture:
- Cause: Overmixing or incorrect measurements
- Solution: Mix just until combined, use scale
- Prevention: Follow mixing times precisely
- Gritty Texture:
- Cause: Coarse flour or inadequate hydration
- Solution: Use superfine flour, rest batter
- Prevention: Choose quality ingredients
- Crumbly Results:
- Cause: Insufficient binding agents
- Solution: Add xanthan gum or psyllium
- Prevention: Check flour blend composition
- Spreading Issues:
- Cause: Warm dough or incorrect fat ratio
- Solution: Chill dough, adjust butter
- Prevention: Follow temperature guidelines
Final Tips for Success
- Measuring Precision:
- Use digital scale
- Level dry ingredients
- Check liquid in eye level
- Maintain consistent methods
- Ingredient Quality:
- Use fresh ingredients
- Check expiration dates
- Store properly
- Choose reputable brands
- Process Monitoring:
- Keep baking notes
- Document alterations
- Track successes
- Learn from failures
- Environmental Considerations:
- Adjust for humidity
- Consider altitude
- Monitor room temperature
- Check oven accuracy
Frequently Asked Questions about Gluten Free Baking Recipes
What makes gluten free baking different from regular baking?
Gluten free baking requires different flour blends and binding agents to replicate the structure that gluten provides in traditional baking. Success comes from understanding these alternatives and their proper ratios.
Can I substitute regular flour with gluten-free flour in any recipe?
While many modern gluten-free flours are marketed as 1:1 substitutes, you’ll often need to make additional adjustments. Consider moisture content, binding agents, and texture requirements for best results.
Why are my gluten-free baked goods crumbly?
Crumbly texture often results from insufficient binding agents. Adding xanthan gum, psyllium husk, or additional eggs can help create better structure.
How do I store gluten-free baked goods?
Gluten-free baked goods generally have shorter shelf lives. Store at room temperature for 2-3 days, refrigerate for up to a week, or freeze for longer storage.
Why do my gluten-free breads and cakes sink in the middle?
This commonly occurs due to overmixing, incorrect oven temperature, or opening the oven door too soon. Follow temperature guidelines carefully and avoid checking too early.
Mastering gluten free baking requires understanding, practice, and patience. These five essential recipes provide a strong foundation for your gluten free baking journey. Remember that each kitchen is unique, and you may need to make minor adjustments to achieve your perfect results.
The joy of creating delicious gluten-free treats is worth the learning curve. As you experiment with these recipes, you’ll develop an intuition for gluten free baking that will serve you well in all your future baking adventures. Don’t be afraid to make notes, adjust ingredients, and most importantly, keep baking!
Where to Find Ingredients
- Local health food stores
- Major supermarket chains (specialty sections)
- Online retailers
- Specialty gluten-free bakery suppliers
- Bulk food stores
Money-Saving Tips
- Buy flours in bulk when possible
- Create your own flour blends
- Watch for sales on specialty ingredients
- Store ingredients properly to extend shelf life
- Share costs with other gluten-free bakers
Follow us on Facebook for daily vegetarian recipes!

